Department, or center, website must be running on WordPress.
Summary
The ability to quickly and easily make (and edit) pages for a website is crucial, and thankfully WordPress makes this process very simple. This guide will cover the various aspects of page management and page attributes within WordPress.
Details
Length: 20 minutes
Updated: August 10, 2015
Required: Department, or center, website must be running on WordPress.
Managing Pages
Pages Menu
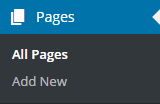
Once logged into WordPress you can see a list of all pages for a website by clicking on the Pages (or All Pages) link from the left side admin menu.
Pages List
On the Pages screen you will see a list of alphabetically arranged (unless the Order is set on a page attribute) list of all pages for the website.
Note that if there are many pages the list will likely be broken up into pages (1-30, 31-60, etc). To change how many pages are shown per page click the Screen Options button in the top right corner and enter a different number into the "number of items per page" box.

Quick Edit
For each page in the list there is the option of making a quick edit by hovering the mouse over the row for the page and clicking the Quick Edit link.

From the Quick Edit panel you can make various changes to the publish settings and page attributes without needing to open the full edit screen, which can be a huge time saver when needing to make changes to multiple pages.

Creating Pages
Ways to Create a New Page
1. Admin Menu
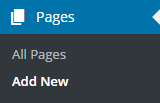
Create a new page by clicking "Add New" under the Pages menu.
2. Existing Page
From the Pages list screen or when editing an existing page there is an "Add New" button at the top of the screen so multiple pages can easily be created in quick succession after setting a page title.

3. Admin Bar
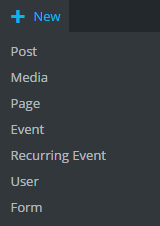
Any time you're logged into WordPress the Admin Bar will be visible along the top edge of the screen and from there you can select "New" and then click "Page".
Customizing the Permalink (URL)
By default WordPress will create a permalink based on the title of the page, however this can be customized. For pages with long titles this is especially important to keep the URL short and easy to remember if visitors are being directed to the specific URL. Once a Page title has been set the Permalink will display just below and can be edited by clicking the Edit button.
Adding Page Content
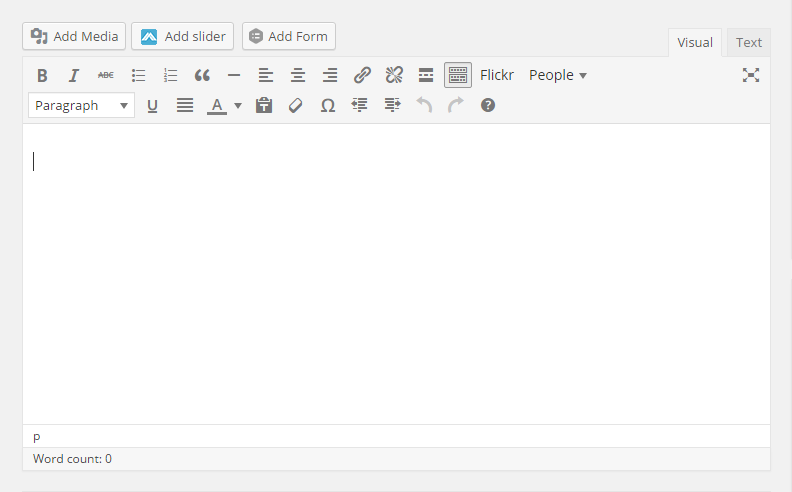
Once a new page has been created you will want to begin adding content. You can do this using the main visual editor pictured below.
Note that you will likely want to click the "Toggle Toolbar" button near the right end of the editor buttons. This will show the second row of editor buttons and will most importantly expose the text format drop-down menu, which can be used to set heading sizes.
Screen Options
In order to follow some of the guide steps below the Screen Options will need to be checked for "Page Attributes", "Featured Image", and "Discussion".

Discussion
The discussion panel controls whether comments and trackbacks are allowed on the page. Comments allow guests to leave messages on the page in response to the page content. Trackbacks are similar to contents, but are used to create links between websites when someone mentions the page from anther website. Generally comments are disabled for pages, but there are situations where having them enabled may be useful.

The discussion panel controls whether comments and trackbacks are allowed on the page. Comments allow guests to leave messages on the page in response to the page content. Trackbacks are similar to contents, but are used to create links between websites when someone mentions the page from anther website. Generally comments are disabled for pages, but there are situations where having them enabled may be useful.
Featured Image
If the website support it, a Featured Image can be added which is generally displayed as a banner across the top of the page.

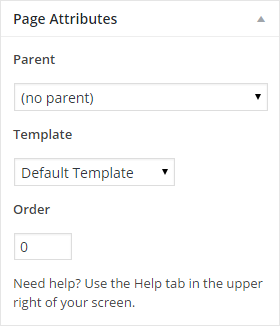
Page Attributes
Parent: In order to group pages together you can set multiple pages to have the same parent page.
Template: If the website supports it, a custom page template can be set on a page-by-page basis. Generally the page template title will describe the intended functionality that it provides.
Order: Pages are usually ordered alphabetically, but you can choose your own order by entering a number (1 for first, etc.) in this field.
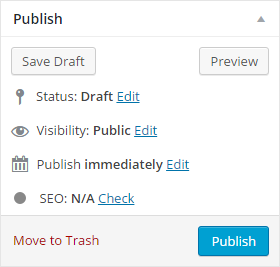
Publish
Status: Can be set to "Draft", "Pending Review", or "Published".
Visibility: Can be set to "Public", "Password Protected", or "Private". Private pages can only be seen by those who are logged into WordPress.
Published on: Can be set to "Immediately" or a specific date.
